01 — Know the Goal
What Are Your Measurements Being Used For?
There is an important difference between measurements used to discuss or estimate a project and measurements used to fabricate the finished countertops.
Homeowner measurements can be very useful during the early stages of a project. They can help communicate the approximate size and layout of your kitchen or bathroom.
They can also help identify important project features such as:
- Countertop runs
- Islands and peninsulas
- Sink locations
- Cooktops
- Backsplash areas
- Waterfall panels
- Seating overhangs
Preliminary Measurements ≠ Fabrication Measurements
Do not treat this guide as a replacement for final professional measurements or templating. Stone and engineered countertop fabrication requires much greater precision than a preliminary homeowner estimate.
02 — Get Ready
What You'll Need
You can collect useful preliminary information with a few basic tools.
Tape Measure
Use a tape measure that clearly shows inches and fractions.
Paper & Pencil
Draw a simple overhead sketch. It does not need to be to scale.
Phone Camera
Photos help communicate the existing layout and project conditions.
03 — Step by Step
How to Measure Your Countertop Layout
Start by thinking of the countertop as a group of simple sections rather than one complicated shape.
Draw the Room From Above
Make a simple overhead sketch of the countertop layout. Draw the walls, countertop runs, island or peninsula and major appliances.
The drawing does not have to be artistic or perfectly to scale. Its purpose is to show where each measurement belongs.
Divide the Countertop Into Sections
Break the layout into simple rectangles. A straight countertop run can be one section. An L-shaped layout can usually be represented by multiple rectangular sections.
Measure the Length
Measure the length of each countertop section and write the measurement directly on your sketch.
Keeping every measurement attached to its section makes the drawing much easier to understand later.
Measure the Depth
Measure from the back of the intended countertop area to the finished front edge. Do not assume every section has the same depth.
Mark Sinks & Appliances
Draw the approximate locations of the sink, cooktop and other fixtures that will require countertop openings.
Measure the Island Separately
Record the full intended length and width of the island, including planned overhangs when known.
Add Project Notes
Note anything that may matter to the project: waterfall sides, backsplash, unusual corners, seating areas or other special details.
Take Photos
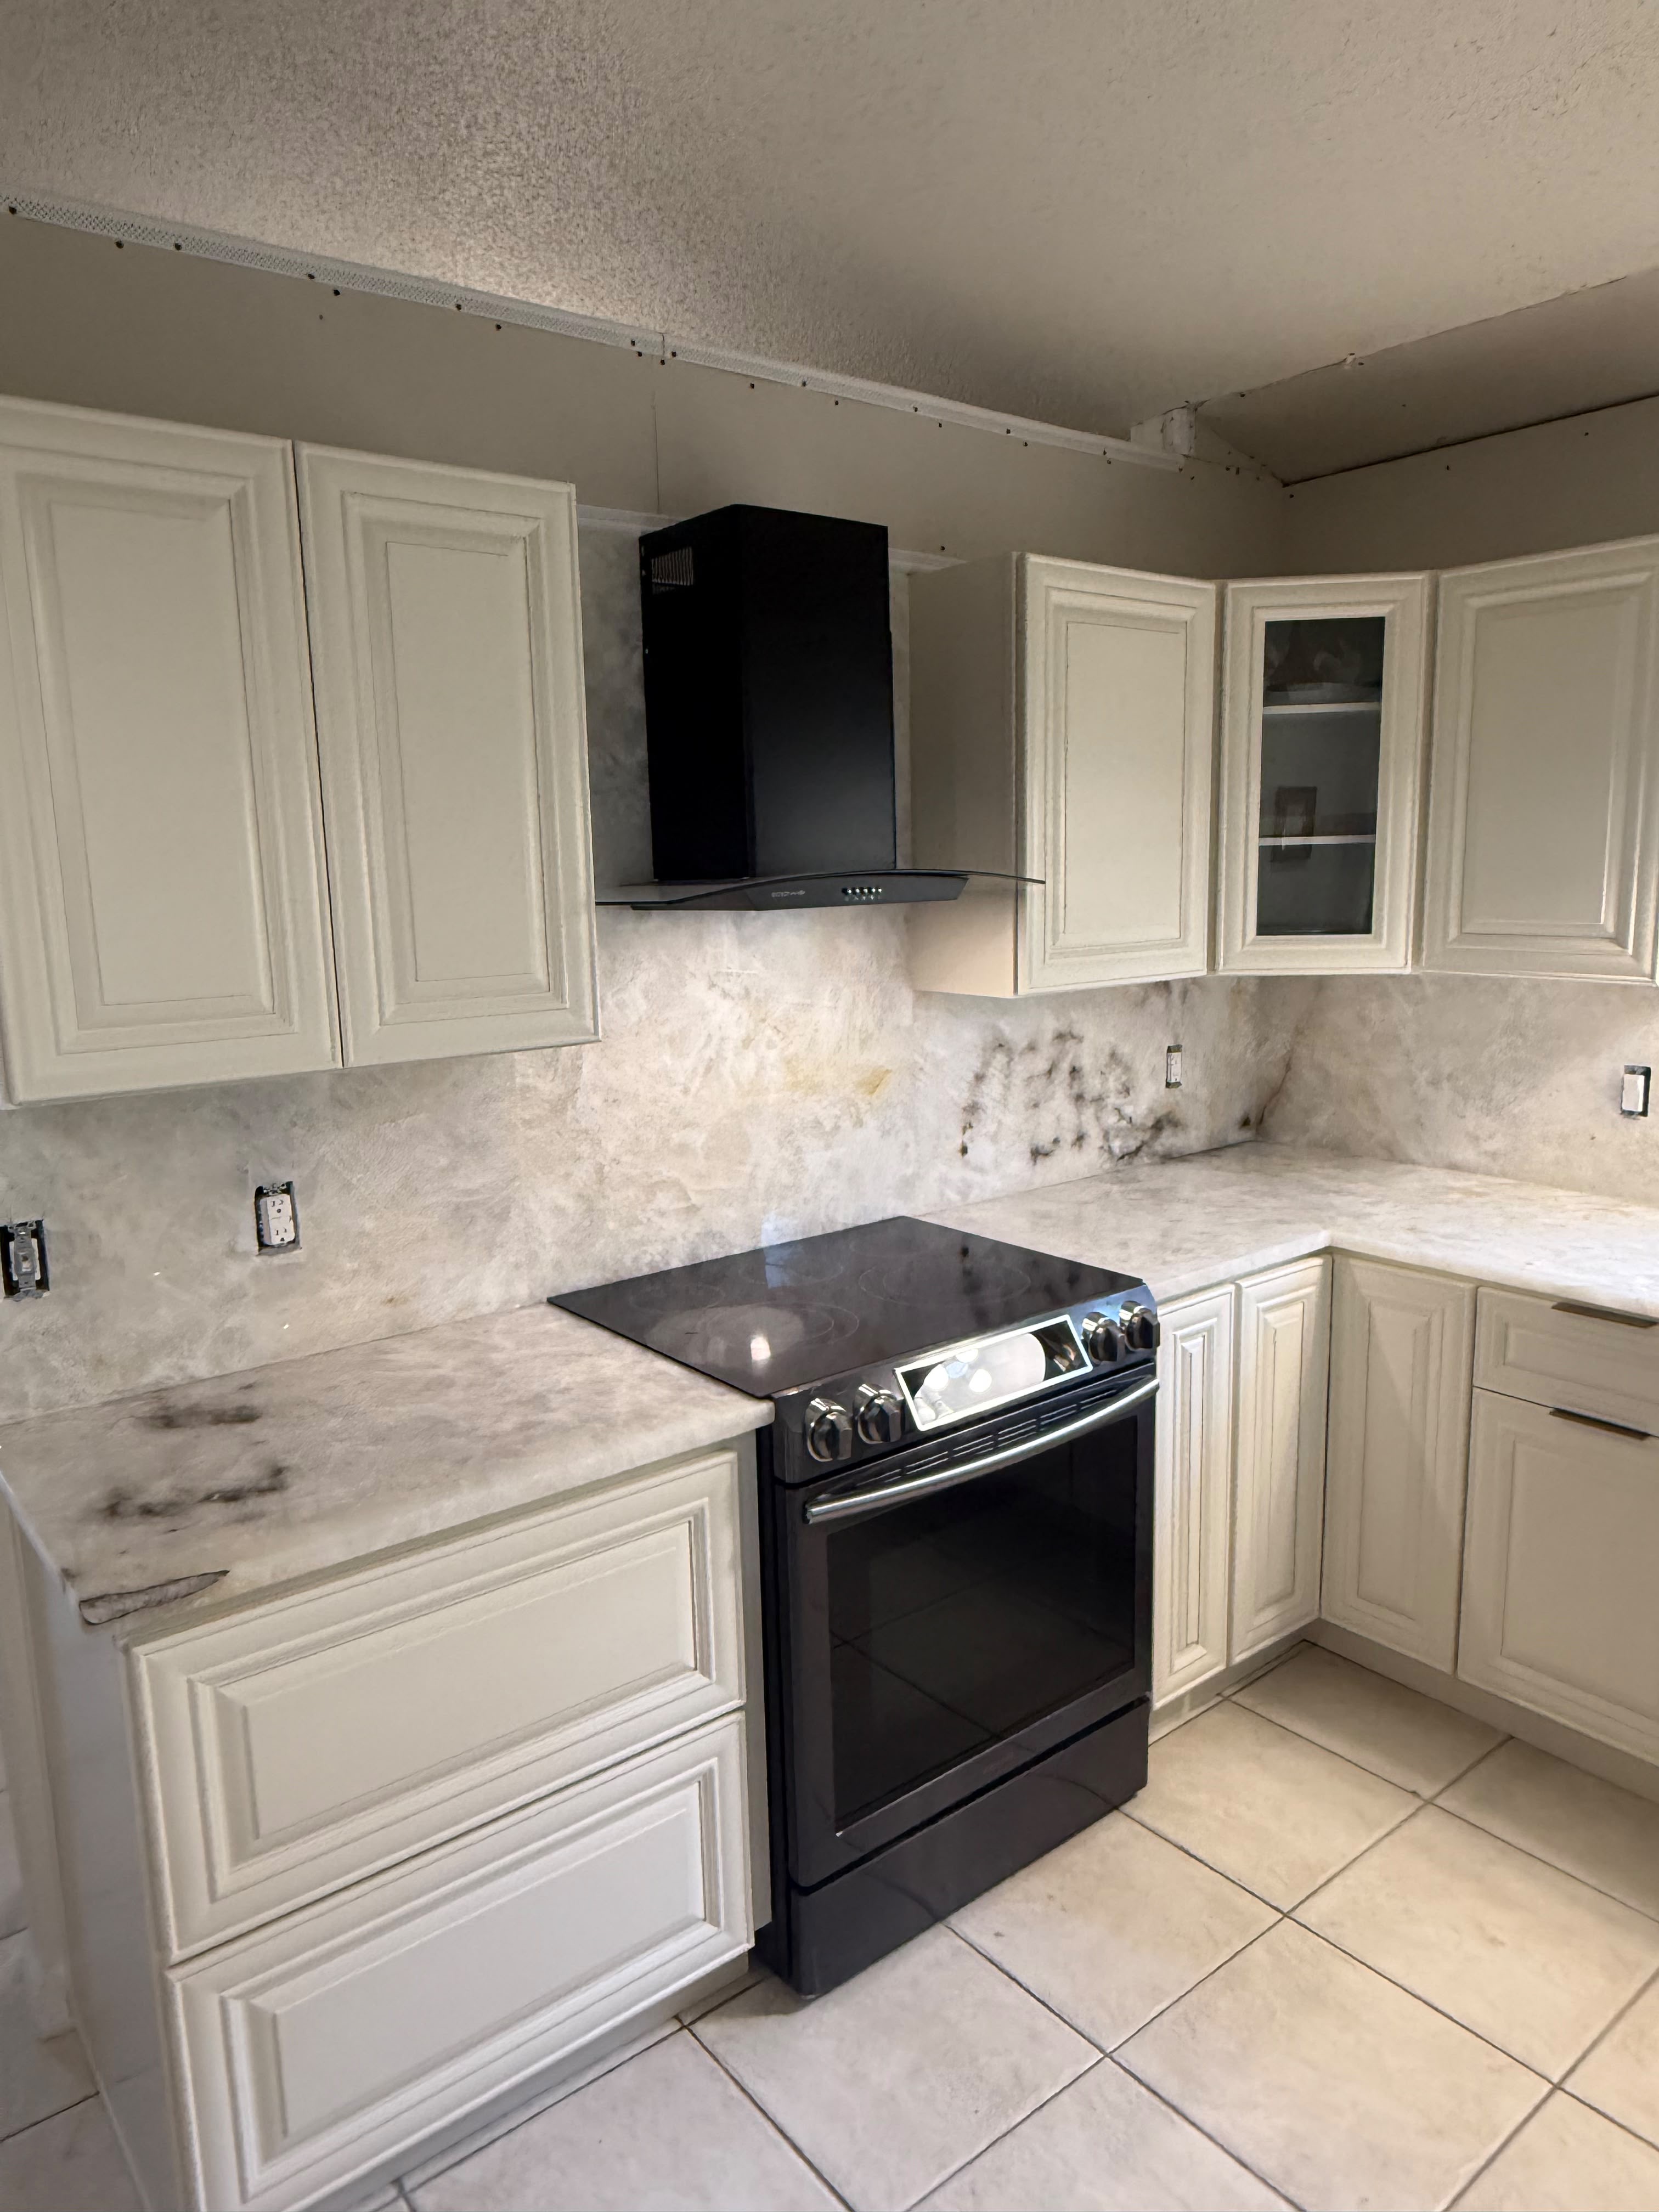
Take several clear photos showing the overall room and major countertop sections. Photos add context that measurements alone cannot provide.
04 — Length Isn't Enough
Remember to Measure Countertop Depth
A long countertop measurement does not tell us the total surface area unless we also know its approximate depth.
Measure from the back of the countertop area toward the finished front edge.
If different sections have different depths, record each section individually instead of applying one measurement to the entire kitchen.
Islands and seating areas are especially important because their dimensions can be very different from perimeter countertop runs.
05 — Islands & Peninsulas
Measure the Full Intended Island
For preliminary planning, record the island's approximate finished length and width.
If the countertop will extend beyond the cabinets to create seating or another overhang, include that information in your notes.
Also mark any sink, cooktop or other opening planned for the island.
Planning a waterfall edge?
Note which side or sides of the island will receive waterfall panels. Those vertical pieces can affect material requirements, slab layout, fabrication and installation.
06 — L-Shaped Layouts
How to Handle Corners
L-shaped and U-shaped kitchens can look difficult to measure, but the preliminary process becomes easier when you divide them into rectangular sections.
Draw each countertop run and record its length and depth. Your drawing should make it clear where those runs meet.
Do not worry about determining the final seam location yourself. Seam planning involves slab dimensions, material characteristics, transportation, fabrication and installation considerations.
Keep the Sketch Simple
The purpose of your drawing is to communicate the project—not to create a fabrication drawing. Clearly labeled measurements are more useful than trying to make a perfect architectural plan.
07 — Fixtures & Appliances
Mark the Sink, Cooktop & Other Openings
Do not simply subtract a sink or cooktop from your countertop dimensions when preparing preliminary measurements.
Instead, measure the overall countertop section and mark the approximate location of the opening.
If you already know the sink or appliance being used, include that information with your project.
Helpful details can include:
- Sink type
- Sink model or dimensions if available
- Cooktop location
- Cooktop model or dimensions if available
- Faucet location
- Other countertop-mounted fixtures
08 — Backsplash
Don't Forget the Backsplash
If you are considering using countertop material for a backsplash, include that in your project notes.
A short backsplash strip and a full-height slab backsplash require very different amounts of material.
For preliminary planning, record the approximate length of the backsplash area and note whether you are considering a short backsplash or a full-height application.
09 — Approximate Area
How to Estimate Countertop Square Footage
If you want a rough idea of countertop surface area, divide the layout into rectangles and calculate each section separately.
=
Approximate Square Feet
Example
Imagine one rectangular countertop section measures approximately 96 inches long by 25 inches deep.
2,400 ÷ 144 ≈ 16.7 square feet
You would repeat this process for the other rectangular sections and add them together for an approximate total.
Square Footage Is Not the Same as Slab Requirement
Your calculated finished square footage does not necessarily tell you how much raw slab material the project will require. Slab dimensions, piece layout, seams, veining, cutouts and other fabrication considerations can affect material requirements.
For a deeper explanation of why project pricing involves more than square footage, visit our Countertop Cost Guide .